Although this one seems different somehow, the cat claimed it immediately and the kids are fighting over this one so I'd say it's a success here!

You can buy similar designs in home decor shops in the UK ranging from £35-60 but as always choosing your own fabrics is a big incentive to DIY.
This pattern comes in 4 pieces top, midsection band and 2 base templates.And I have a PDF sewing pattern ready for you to print at home right now


Alternatively, you can have a go at drafting your own pattern using the following dimensions:
Top - Circle diameter 42cm / Midsection - 132x32cm / Base1 - Semicircle diameter 21+1cm / Base2 - Semicircle 21+4cm
Materials required are as follows:
- 1 meter/yard woven (non-stretch fabric) x1.5 if you want to add piping to match.
- Zipper Med 16" / Maxi
- Filling (Beans, scrap fabric or foam)
- Optional piping tape Med - 140cm / Maxi -
Ready? Let's get started!
1> Using my pattern templates or your self drafted pattern, CUT out your fabrics and gather notions like ZIP and PIPING.
NOTE: There are 2 base templates, Base1 + Base2. If you want to hide your zip as I did in this tutorial then cut one of each but if you have a snazzy zipper that you want to expose, then cut x2 of Base1.
Also don't forget to mark notches with pen or chalk (this will be really useful later)

2> Using SIDE pattern piece SEW shortest ends right sides together (RST) using 1.5cm seam allowance included.


3> (Optional) Baste piping to TOP piece. Basting at this stage is not essential but does make things easier later and you can neatly organise the join more easily.
Note if you are using 1.5" piping strips which is very common, set your piping in slightly to allow for the 1.5cm seam allowance included in the pattern.

TOP TIP : When sewing piping at the basting stage I never sew close to the cord as the basting may be seen and look ugly later. Instead, just use general sewing foot.
Find out more about piping HERE.

Start/finish your piping neatly now whilst you can see it clearly.


4> Attach TOP to side panel ring using notches to ease the two pieces together.

Sew slowly checking and adjusting the whole time. Parts of the circle will stretch on the bias so do not pull too much.
TOP TIP - use a zipper foot to nudge close into the piping cord for the neatest finish. I often have to sew twice to get close enough.

5> Using a Zipper foot ATTACH Zipper to the straight edge of each base piece.

6> Then still using the zipper foot TOP STITCH along the zip teeth on the right side of the fabric.

If you are creating a lapped zip with Base1+2 (as explained above) one side will have some excess fabric to fold over and cover the zip teeth. Use notches to align

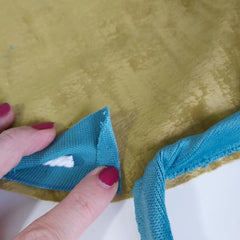
7> Fold over the base leaving the lap and TOP STITCH 0.5cm on the fabric right side

This should have created a cute flap over your zipper teeth.

8> OPEN ZIP and ATTACH base to midsection using notches to guide and ease as before.
Pull zip ends together and clip/pin to ensure that they meet when you sew over them.

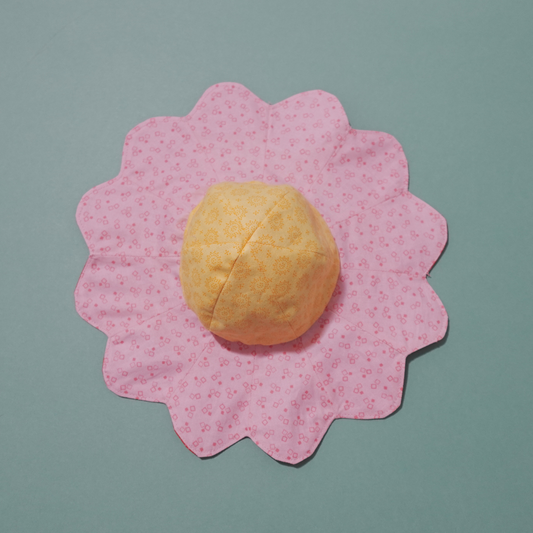
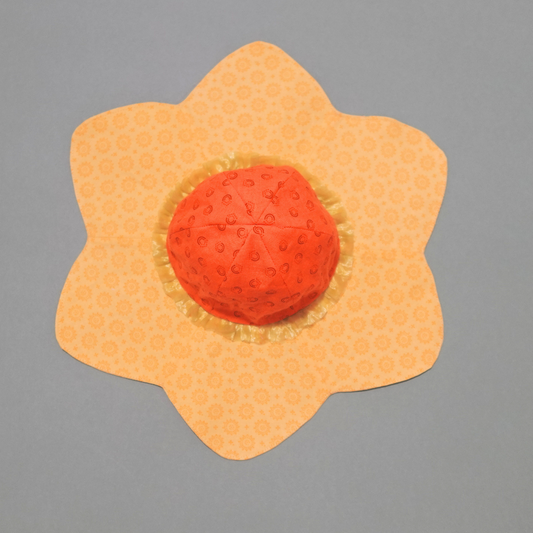
EEK your pouffe should be finished and ready for the big reveal!
Pull the whole thing right ways out through the open zip and shout TADA


9> Fill your new pouffe with your favourite method (IDEAS HERE)
Now let your cat test it for you, or I could send our cat round to do it for, you she seems very keen!

If you tried the piping, how did you get on? Did you use contrast or matching colour I'd love to know.
Drop a comment below and share your creations with me @frecklesandcocraft #frecklesandcomakes